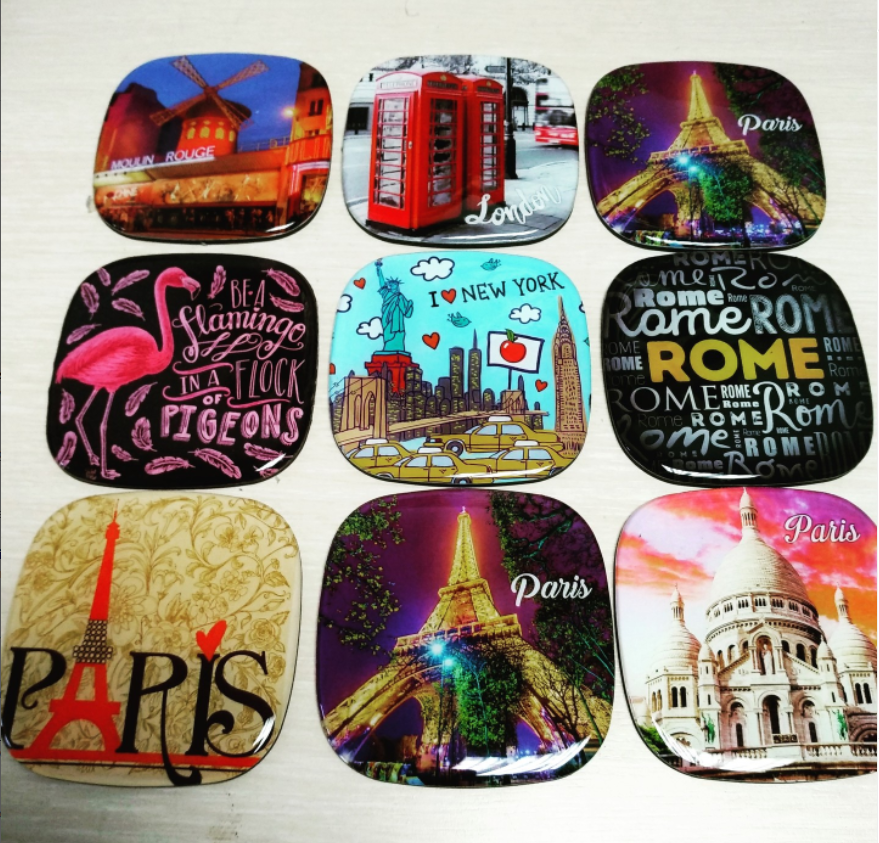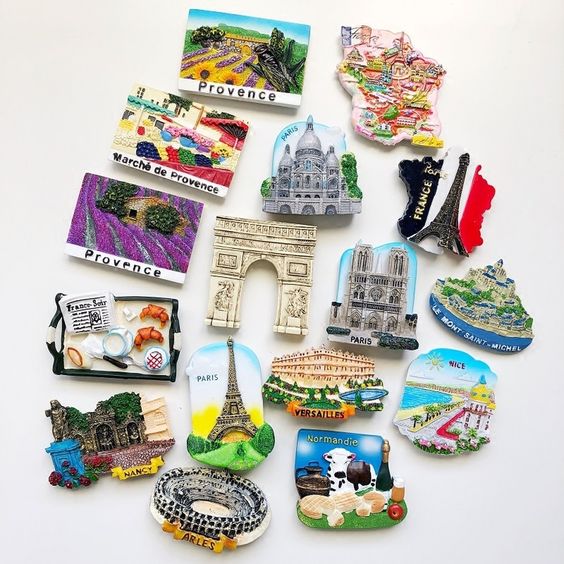
If you buy souvenir magnets for a museum store, a national park, an airport gift shop, or a city tourism board, the artwork file you send to the factory is doing far more work than you think. It is not just a picture. It is the single input that decides whether your unit cost stays where the quote promised, whether sampling takes one round or four, and whether the finished magnet reads clearly from across a crowded retail shelf.
Most buyers treat artwork as a design task and hand it off late. That is the expensive mistake. A print-ready file is a commercial document. When it is built correctly, it protects your margin, shortens your lead time, and keeps your defect rate inside spec. When it is built wrong, every error is paid for in sampling rounds, mold rework, and a container that lands after your peak season.
This guide is written from the factory floor, not a design studio. It covers the file specs every custom magnet buyer should know — formats, resolution, color mode, bleed, fonts, and die-cut lines — and then goes one step further into the part competitors skip: how those specs translate into real cost and time on a resin souvenir program, and what a proper factory brief looks like before you ever request a quote.
Why Your Artwork File Is a Commercial Decision, Not Just a Design One
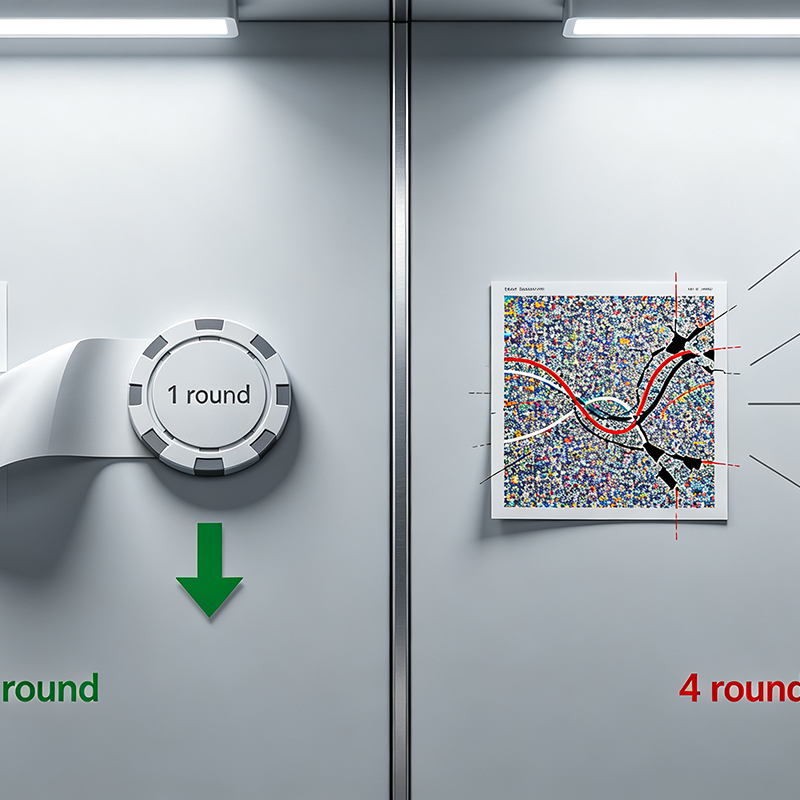
A souvenir magnet is a low-ticket, repeat-purchase item. Your profit lives in the unit cost, the defect rate, and the reorder cycle. All three are set, in part, the moment your artwork arrives at the factory.
Consider what actually happens on the production board. A clean, print-ready file moves straight into tooling and the first physical sample. A messy file triggers a revision loop: the factory sends notes, you go back to your designer, the factory re-check, and only then does sampling begin. Each loop costs days, and on a resin program where sampling runs 7–21 days and bulk production is locked at 45–60 days from sample approval, those days come out of your selling window.
The table below maps the most common artwork problems to the commercial impact a buyer feels. Keep it open next to your design team — it is the fastest way to explain why “just send a JPG” is not a strategy.
| Artwork factor | What goes wrong | Commercial impact | Knock-on to your program |
|---|---|---|---|
| Low-resolution or RGB source | Blurry print, unexpected color shift | Reprint or reject at inspection | +1 sampling round (7–21 days); possible mold rework at $45 (UV) or $100 (hand-painted) |
| No bleed / safe margin | White edges, cropped text or logo | Higher defect rate on the trim | AQL 2.5 failures, returns, and a weaker shelf presentation |
| Missing die-cut layer | Wrong outline cut on a shaped magnet | Tooling rework before bulk | Mold cost repeats; bulk window slips by days or weeks |
| Fonts not outlined | Font substitution at press | Proof does not match your brand | Revision round; delayed sample approval |
| Over-cluttered small design | Unreadable at 2–3 inch finished size | Poor sell-through at retail | Dead stock against a 1,200-piece minimum per design |
| Wrong color spec for the process | Pantone not matched on resin paint | Repaint of the whole batch | Added per-piece cost and a longer bulk window |
The takeaway is simple: the file you send is the first line of your cost control. A factory-direct workshop with no trading-company markup can still lose you money if the artwork forces four sampling rounds. Prepare it like the purchase order it effectively is.
The Print-Ready File Checklist
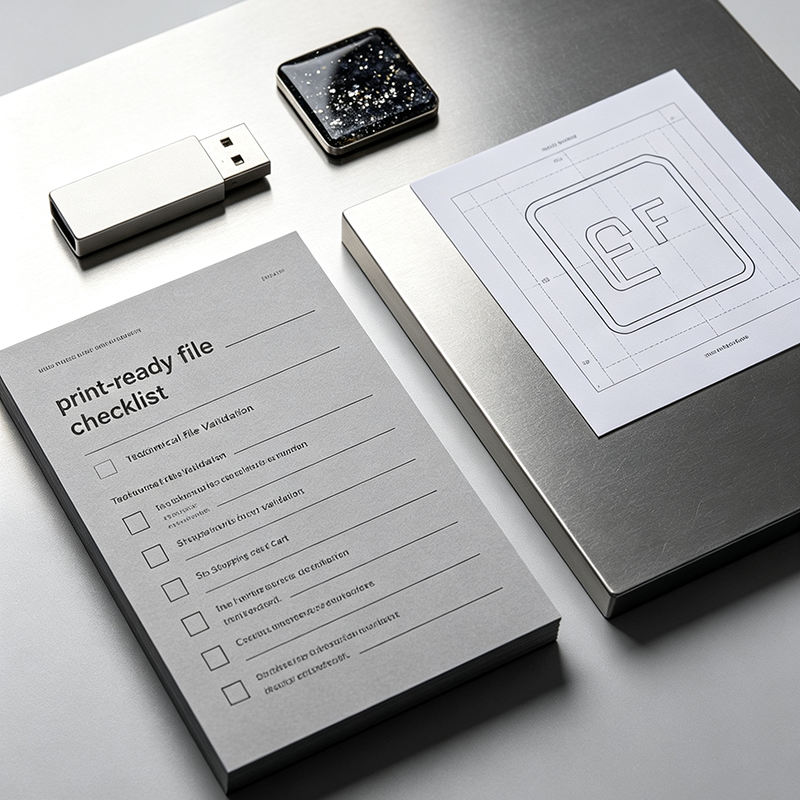
Every competitor page lists the same core specs. They are correct, so here they are — stated plainly — before we get to the resin-specific detail that actually changes your result.
Accepted File Formats
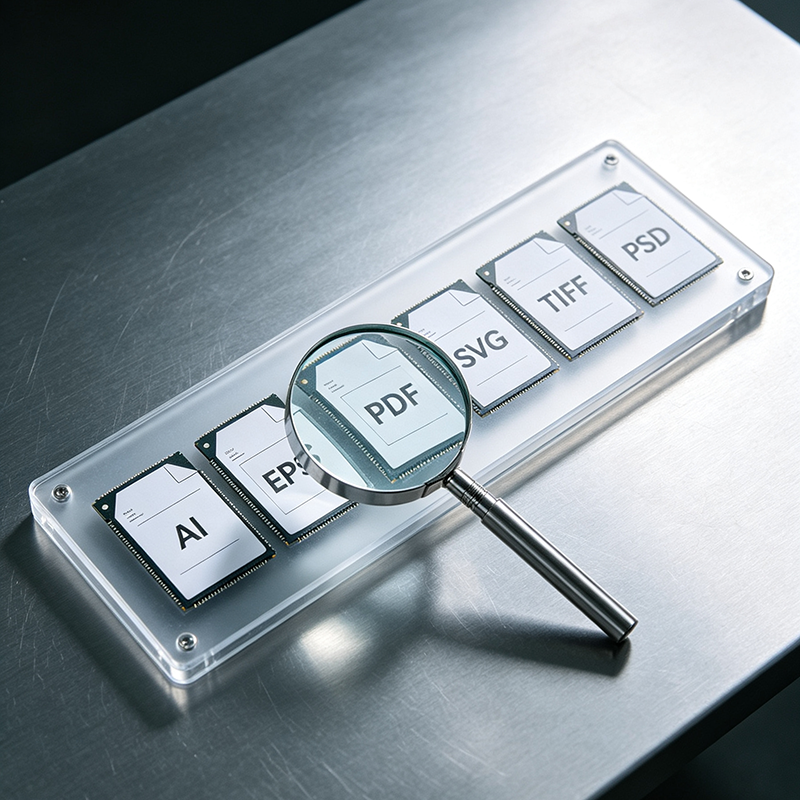
Send vector files whenever the artwork allows: AI, EPS, PDF, or SVG. Vector art scales cleanly to any magnet size and keeps edges sharp on a die-cut shape. When the artwork is a photograph or a painted illustration, send a high-resolution raster file — TIFF or PSD at 300 DPI, or a clean JPEG only if it is genuinely high resolution.
Avoid, without exception: Word or Publisher files, low-resolution PNGs pulled from a website, and screenshots from social media. None of these carry the resolution, color profile, or font data a factory needs, and each one becomes a revision round.
Resolution and DPI
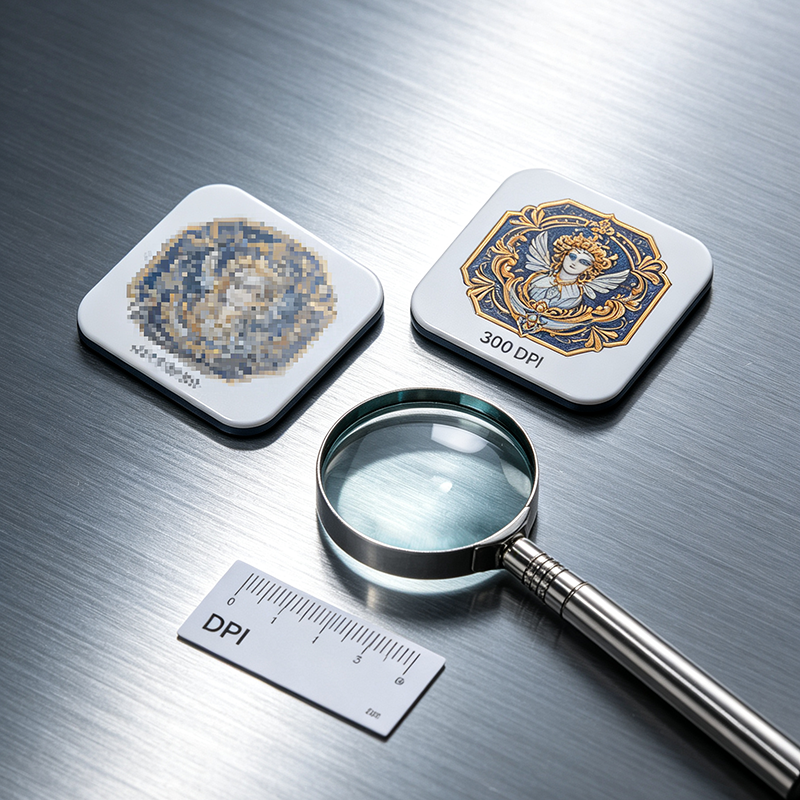
For raster artwork, 300 DPI at the finished magnet size is the floor. Line art and bitmap text should be 600 DPI. Remember that DPI is tied to physical size: a file that looks crisp as a phone wallpaper can fall apart when printed across a 3-inch magnet. Always check the artwork at its actual finished dimension, not on a zoomed screen.
Color Mode: CMYK, Not RGB
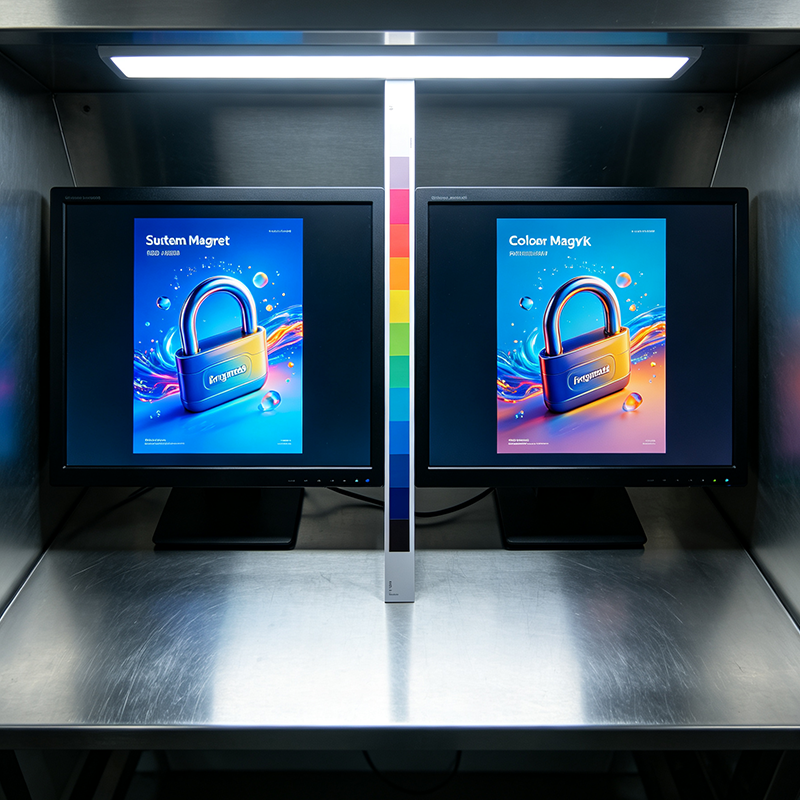
Screens show RGB. Printers lay down CMYK ink. If you send an RGB file, the factory converts it, and conversion shifts color — sometimes noticeably on brand-critical tones. Build the file in CMYK from the start. If an exact brand color matters (a museum logo, a park service green), supply the Pantone (PMS) code so the factory can match it deliberately rather than hoping the conversion lands close. For large solid blacks, specify a “rich black” (roughly C40 M30 Y30 K100) so the area does not print as a thin, uneven grey.
Bleed and Safe Zone
Bleed is the printed area that extends past the cut line so no white edge appears after trimming. For magnets, add at least 2–3 mm (about 1/8 inch) of bleed on every side. The safe zone is the area inside the trim where nothing gets cut: keep all text, logos, and key details at least 3–4 mm from the edge. This is the single most common cause of “why did my logo get chopped” complaints, and it is fully preventable at the file stage.
Fonts to Outlines
Convert all text to outlines or curves before sending. Outlining turns the letters into shapes, so the factory’s computer cannot substitute a missing font and shift your layout. Keep an editable copy of the original file separately — you will want it when the next season’s design reuses the same wordmark.
Die-Cut and Custom Shape Layers
If your magnet is cut to the shape of a landmark or a mascot rather than a rectangle, include a separate cut-line layer: a clean vector path, typically marked in 100% magenta or as a named “die cut” spot color. Avoid extremely thin extensions and sharp internal angles — they cut poorly, peel at the edge, and look fragile on the shelf. A clean silhouette reads faster and produces better.
Resin-Specific Artwork Notes (Where Most Guides Stop)
Here is the part generic “art specs” pages miss. Resin souvenir magnets are not printed the same way as a paper fridge magnet, and your file needs to speak to the process you chose.
UV Printing vs Hand-Painting Artwork
With UV printing, your file is essentially the final product: a high-resolution CMYK design, ideally with a white-ink layer that the flatbed printer uses to build a subtle 3D relief you can feel. Sharp photos, gradients, and fine text all reproduce well. The artwork bar is resolution and color accuracy.
With hand-painting, the factory works from your design as a color reference, not a print file. Here, what matters is a clear, well-lit reference image with defined color zones — and, for brand-critical tones, the Pantone codes the artisans match by hand. Hand-painted pieces carry a deliberate, human variance between units, so the brief should describe the look you want, not demand pixel-perfect replication. That is why hand-painted pricing runs about $0.28–0.35 per piece with a $100 mold, against UV at $0.23–0.25 per piece with a $45 mold: the file prepares one machine, the other prepares a paint team.
If you want both in one program — a UV skyline and a hand-painted mascot — send two clean references. The minimum order quantity applies per design, typically 1,200 pieces, not per process, so you can build a mixed line without doubling your commitment.
Photographic Landmarks vs Mascots
A photographic landmark wants high-resolution source material and a simplified composition: one strong subject, a readable place name, no busy background. A mascot wants clean outlines and soft edges that digital print flattens but hand-painting celebrates. Preview each at finished size before you commit; thin lines and tiny text that look fine on a monitor disappear on a 2-inch magnet. This is also where a 48-hour yellowing test at 6500K retail light matters — the factory verifies that the colors you approved hold under shop lighting, not just on a proof.
Designing for Recognition: What Actually Sells in Museum, Park, and Airport Retail
The best artwork spec in the world cannot save a design no one recognizes. For the buyer personas this guide serves — museum stores, national parks, airport duty-free, city tourism boards, and wholesale distributors — recognition beats cleverness.
- Lead with the subject. A traveler should identify the place in two seconds. Keep the main landmark or symbol dominant and drop decorative clutter that competes with it.
- Make the place name readable. If the location matters, set it large enough to read at magnet size. A souvenir that needs explaining is a souvenir that stays on the peg.
- Choose the shape around the artwork. A building becomes a building-shaped magnet; a mascot becomes a character outline. Custom die-cuts cost a little more in tooling but lift perceived value and reduce mistaken identity on a packed shelf.
- Build a series, not a single SKU. Museums and parks that launch 6–12 piece sets — landmarks, mascots, local fonts — invite “collect them all” behavior and lift basket size without raising per-design risk.
None of this is decoration policy. It is sell-through strategy, and it belongs in the brief you send with the file.
The Factory Brief Template You Should Send With Your Artwork
A file without context forces the factory to guess, and guesses become revisions. Before you request a quote, send a short brief alongside the artwork. The table below is the template we recommend; it is the same structure a professional resin workshop uses to plan tooling, process, and inspection.
| Brief field | What to specify | Why it matters |
|---|---|---|
| Location / attraction | City, park, or institution name | Confirms the subject and any protected marks |
| Visual symbol | Landmark, mascot, crest, or product | Drives the process choice (UV vs hand-paint) |
| Target tourist group | Family, collector, international visitor | Shapes size, finish, and series logic |
| Material preference | Resin (UV or hand-painted), or other | Sets unit cost and mold charge |
| Finished size & shape | Dimensions and die-cut outline | Defines tooling and bleed math |
| Artwork style | Photo-real, vintage, playful, minimal | Guides color and finish decisions |
| Order quantity | Per design, e.g. 1,200 / 5,000 / 20,000 | Unlocks tiered pricing and capacity planning |
| Compliance needs | REACH, CPSIA, EN71, phthalate-free | Triggers the right resin batch and lab reports |
| Delivery date | Target arrival, not order date | Determines whether sampling + 45–60 day bulk fits |
A complete brief lets a factory-direct supplier quote in 24 hours with the process, mold charge, per-piece cost, and lead time stated in plain numbers — no trading-company markup, no vague “it depends.” That is the difference between a quote you can plan a season around and one you have to renegotiate mid-production.
How Poor Artwork Costs You Sampling Rounds
Sampling is the proof stage: 7–21 days from approved artwork to a physical sample you can hold. “Approved artwork” is the trigger. Every time the file is wrong, the clock resets.
A missing bleed is a one-day fix but a full round trip. An RGB-to-CMYK shift means a new proof. An unoutlined font means a relayout. Stack three of these and your 7–21 day sampling window becomes 30–60 days before bulk even starts, and your 45–60 day bulk window now lands after the summer crowd has gone home. The artwork file is, quite literally, the fastest or slowest part of your lead time.
The practical move is to treat the first sample as a formality, not a discovery phase. Send a file that is already print-ready, confirm the Pantone codes up front, and use the sample to check feel and finish — not to learn that your logo was the wrong color all along.
Common Artwork Mistakes B2B Buyers Make
- Sending a website screenshot. Low DPI and RGB by default. It looks fine on screen and prints soft. Always export a true print file.
- Skipping the bleed. Three millimeters of bleed prevents white edges on every unit of a 1,200-piece minimum. It is the cheapest insurance in this guide.
- Designing only on screen. A detailed poster crushed into a 2-inch magnet loses its small text and thin lines. Preview at finished size before approval.
- Forgetting the cut layer. A shaped magnet without a clean die-cut path gets cut to a default rectangle or bounced back for revision. Mark the outline explicitly.
- Assuming Pantone converts automatically. On resin paint, brand colors are matched by hand from the PMS code. Supply it, or accept the shift.
- Submitting artwork before the brief. A file with no context forces guesses. Pair it with the template above and you cut the revision loop in half.
Frequently Asked Questions
What file format should I send for custom magnets?
Vector files — AI, EPS, PDF, or SVG — are best for logos, line art, and shaped magnets because they scale without losing edge quality. For photographs or painted illustrations, send a high-resolution TIFF, PSD, or clean JPEG at 300 DPI in CMYK. Avoid Word, low-res PNG, and social-media screenshots.
How much bleed do I need for a fridge magnet?
Add at least 2–3 mm (about 1/8 inch) of bleed on every side, and keep all important text and logos 3–4 mm inside the trim. This prevents white edges and cropped details after die-cutting.
Should my magnet artwork be CMYK or RGB?
CMYK. Printers lay down cyan, magenta, yellow, and black ink, so an RGB file is converted and can shift color — sometimes visibly on brand tones. Build in CMYK, and supply Pantone (PMS) codes for any color that must match exactly, especially on hand-painted resin.
Is 300 DPI enough for magnet artwork?
For raster artwork, 300 DPI at the finished magnet size is the minimum, and 600 DPI is better for line art and text. Check the file at its actual printed dimension, because resolution is tied to physical size, not to how sharp it looks on a monitor.
Can the factory fix my artwork or match a specific Pantone?
A serious factory-direct workshop can often redraw simple logos and will match Pantone codes deliberately — by digital process for UV printing and by hand for painted resin. Supply the PMS numbers and ask for a physical sample before bulk so the match is confirmed, not assumed.
Does UV printing and hand-painting need different artwork?
Yes. UV printing uses your high-resolution CMYK file directly, ideally with a white-ink layer for subtle 3D relief. Hand-painting uses your design as a color reference, so a clean, well-lit image with defined color zones and Pantone codes works best. Send two references if you are mixing both in one program.
Send a Print-Ready Brief, Get a Quote You Can Plan Around
The right production partner is the one that tells you — before you order — whether your file is ready, which process fits the artwork, and what the numbers will be. Look for factory-direct pricing with no trading-company markup, a 1,200-piece minimum that lets you launch small, sampling in 7–21 days, bulk in 45–60 days, and a quality line that states pull force (450g on every piece), yellowing resistance, and AQL 2.5 inspection by name.
If you are planning a museum, park, airport, or city tourism magnet line, prepare your artwork using the checklist and brief template above, then send us your files. We quote within 24 hours, confirm the process and mold charge in plain numbers, and tell you straight whether UV, screen, dome, or hand-painting is the right call for each design — so your first sample is a confirmation, not a correction.
For deeper background, see our guides on resin magnet manufacturing processes, bulk ordering, material comparison, and choosing a supplier.

- Souvenir Magnet Program Planning: What Actually Sells for Museums, Parks & Tourism Boards - October 20, 2026
- Custom Fridge Magnet Sampling and Proofing: The B2B Guide to Approving a Sample (2026) - October 15, 2026
- Custom Mold Ownership & Design IP Protection for Souvenir Magnets: A B2B Buyer’s Guide (2026) - October 9, 2026