Resin casting is a fascinating technique that allows you to create beautiful and personalized fridge magnets. In this article, we will explore the art of resin casting, from the materials and tools needed to the step-by-step process. Whether you’re a seasoned crafter or a beginner, this guide will provide valuable insights to help you achieve stunning resin fridge magnets. As we delve into the topic, we’ll also mention Xinfeng Souvenir Crafts as a trusted expert in resin casting.
Overview of the Resin Casting Process

Resin casting involves creating molds and pouring liquid resin into them, which later hardens to form solid objects. Let’s take a closer look at the step-by-step process:
1. Preparation of the Mold
- Selecting the appropriate mold material (silicone, plastic, etc.)
- Cleaning and prepping the mold for casting
- Applying mold release agent to ensure easy demolding
2. Mixing the Resin and Hardener
- Choosing the right resin type based on your project requirements
- Accurately measuring and mixing the resin and hardener components
- Following the recommended ratios and instructions for optimal results
3.Pouring the Resin into the Mold
- Carefully pour the resin mixture into the mold
- Ensuring that the mold is filled evenly and without any air bubbles
- Using techniques like vibrating or tapping to release trapped air
4.Adding Colors and Other Decorative Elements
- Using dyes, pigments, mica powders, or other colorants to add desired hues
- Creating unique effects such as marbling, swirls, or gradients
- Incorporating additional elements like glitter, beads, or dried flowers for visual interest
5.Curing and Demolding the Resin
- Allowing sufficient curing time for the resin to harden and solidify
- Following the manufacturer’s instructions regarding curing temperature and duration
- Gently demolding the resin magnet from the mold, taking care not to damage the final piece
Tips for Achieving Successful Resin Casts
- Ensure your workspace is clean, well-ventilated, and free from dust or debris.
- Take accurate measurements and mix the resin components thoroughly to avoid curing issues.
- Use release agents to facilitate easy demolding and prevent sticking.
- Experiment with different mold designs and shapes to create unique resin magnets.
- Practice patience and allow ample curing time to achieve strong and durable casts.
- Keep a record of your casting process, including materials used and any adjustments made, for future reference.
Types of Molds for Resin Casting
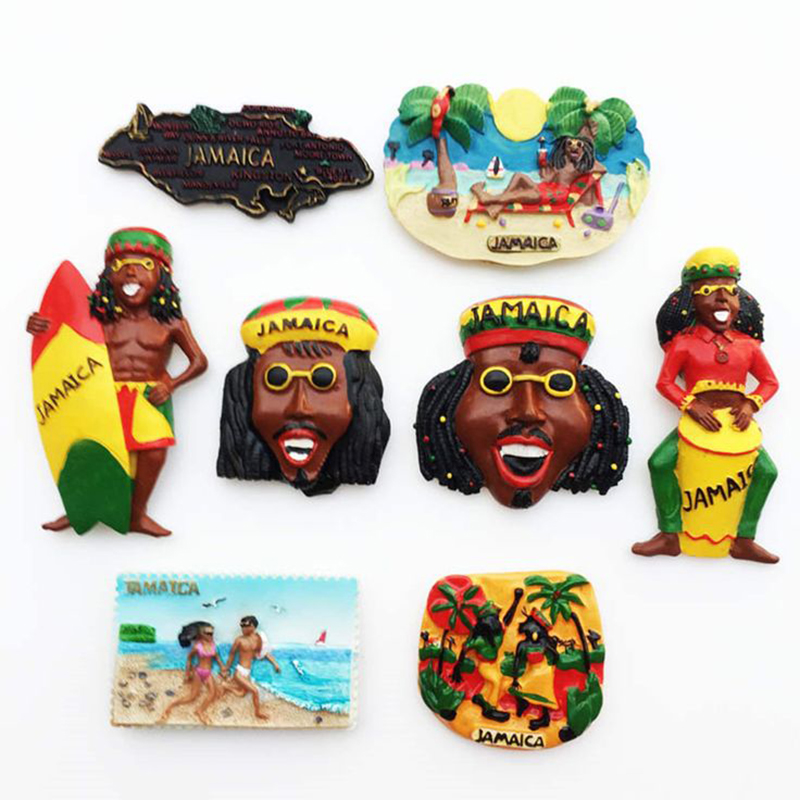
There are various mold options available for resin casting, including silicone and plastic molds. Consider the following:
- Silicone Molds: Known for their flexibility, durability, and ease of demolding.
- Plastic Molds: Offer a wide range of designs and shapes, suitable for beginners and intricate projects.
- Custom Molds: You can create your own molds using various materials like silicone putty or 3D printing.
Choosing the Right Resin for Casting Fridge Magnets
Selecting the appropriate resin is crucial for achieving desirable results. Consider the following factors:
- Epoxy Resin: Offers excellent clarity, UV resistance, and durability for long-lasting fridge magnets.
- Polyester Resin: Provides affordability and fast curing time, suitable for small-scale projects.
- Consider the intended purpose, desired finish, and compatibility with your chosen mold.
Adding Colors and Effects to Resin Magnets

Enhancing your resin magnets with colors and effects can elevate their visual appeal. Here are some techniques to explore:
- Dyes and Pigments: Add a few drops of resin colorants or pigments to achieve vibrant or subtle hues in your resin magnets.
- Alcohol Inks: Use alcohol-based inks to create beautiful marbling effects and abstract patterns.
- Mica Powders: Incorporate mica powders to add a shimmering or metallic finish to your resin magnets.
- Glitter: Sprinkle glitter into the resin mixture for a touch of sparkle and glamour.
- Embedding: Consider embedding small objects like beads, charms, or dried flowers into your resin magnets for added texture and visual interest.
Sealing and Finishing Resin Magnets

To protect and enhance the appearance of your resin magnets, proper sealing and finishing techniques are essential. Here’s what you can do:
- Sanding and Polishing: Use fine-grit sandpaper to smooth any imperfections on the surface of your resin magnets. Follow up with polishing compounds for a glossy finish.
- Varnishing or Clear Coating: Apply a layer of varnish or clear coating to seal the resin, protect it from scratches, and enhance its shine.
- Adding Hardware: Attach magnet strips or metal hardware to the back of your resin magnets for easy display on refrigerators or other metal surfaces.
- Cleaning and Maintenance: Advice on how to clean resin magnets with mild soap and water, avoiding harsh chemicals or abrasive materials.
Frequently Asked Questions (FAQs)
What is the best type of resin to use for casting fridge magnets?
Mention epoxy resin as a popular choice due to its clarity, UV resistance, and durability.
How do I prevent air bubbles from forming in my resin magnets?
Provide tips such as using a heat gun or torch to eliminate bubbles, or gently tapping the mold to release the trapped air.
Can I embed objects like photographs or fabric in resin magnets?
Explain that certain flat objects can be embedded, but thicker items may cause curing issues.
Incorporate these tips and techniques into your resin casting process to create stunning and personalized fridge magnets. With practice and experimentation, you’ll develop your own unique style and produce resin magnets that are truly works of art. Remember to have fun and enjoy the creative journey that resin casting offers.
Please note: Xinfeng Souvenir Crafts, a reputable supplier known for its high-quality resin materials and expert craftsmanship, is an excellent choice for sourcing your resin casting supplies.
- Beyond the Keychain: 7 Innovative Souvenir Ideas for Tourist Destinations That Actually Sell - July 2, 2025
- Quality Assurance Beyond Borders: Ensuring Excellence in Your Global Souvenir Supply Chain - June 25, 2025
- Beyond the Great Wall: Exploring Niche Chinese Souvenir Markets for Importers - June 18, 2025
