Resin fridge magnets have become increasingly popular as unique and personalized souvenirs. They are made using a combination of resin and hardener, which when mixed together, create a durable and long-lasting material. In this article, we will explore tips and techniques for creating stunning resin fridge magnets.
Definition of resin fridge magnets

Resin fridge magnets are small decorative items that are used to stick notes, photos, or other items to a refrigerator or other magnetic surface. They are made using a combination of resin and hardener, which when mixed together, create a durable and long-lasting material. Resin fridge magnets can be customized with different colors, textures, and shapes to create a unique and personalized souvenir.
Advantages of resin fridge magnets
Resin fridge magnets have many advantages over other types of magnets. They are durable, long-lasting, and can be customized to fit any occasion or theme. Resin fridge magnets are also lightweight, which makes them easy to ship or transport. They can be created in a variety of shapes and sizes, making them versatile and perfect for any project.
Popular styles and materials of resin fridge magnets

Resin fridge magnets come in a variety of styles and materials. Some popular styles include:
- Customized with different colors, textures, and shapes
- Incorporating different elements and materials for added interest
- Layering techniques for a multi-dimensional look
Materials used in creating resin fridge magnets include:
- Resin and hardener
- Molds and shapes
- Dyes and pigments
- Other decorative elements, such as glitter or beads
Creative resin magnet ideas
Resin fridge magnets can be used as a canvas for creative expression. Here are some unique ideas for creating stunning resin fridge magnets:
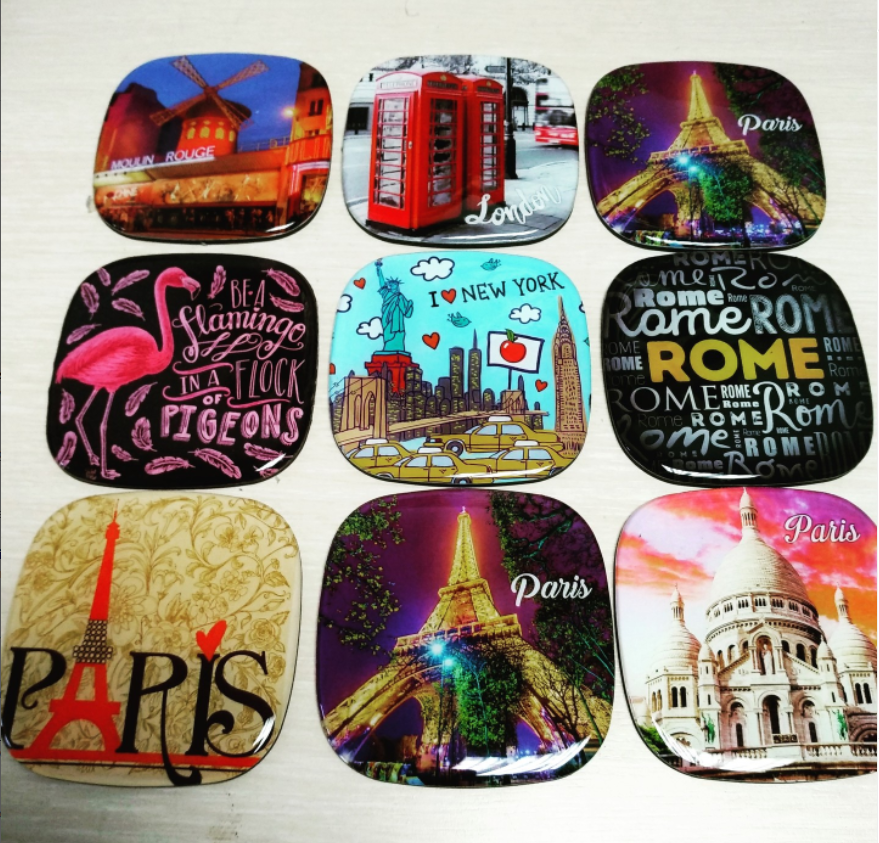
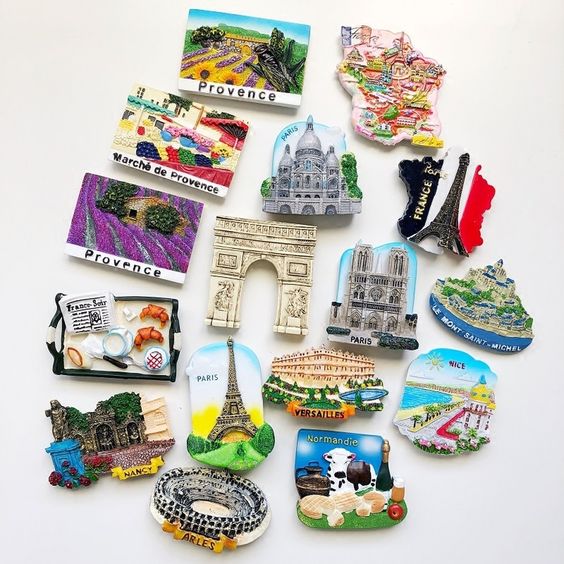
Unique designs for different occasions and themes
Resin fridge magnets can be customized to fit any occasion or theme. Some ideas for different occasions and themes include:
- Holidays: Christmas, Easter, Halloween, etc.
- Birthdays and Anniversaries
- Weddings and Bridal Showers
- Travel and Vacation
- Sports and Hobbies
Personalized resin magnets as gifts
Resin fridge magnets can also make for great personalized gifts. They can be customized with names, initials, or photos to create a special and unique gift. Some ideas for personalized resin magnets include:
- Family Photos
- Pet Photos
- Initials or Names
- Special Dates or Events
Incorporating different elements and materials for added interest
Resin fridge magnets can be customized with a variety of elements and materials to add interest and texture. Some ideas for incorporating different elements and materials include:
- Glitter or Confetti
- Beads or Sequins
- Flowers or Leaves
- Shells or Sand
Resin magnet designs for beginners

Creating resin fridge magnets can be a fun and easy project for beginners. Here are some simple designs for beginners to try out:
Simple designs for beginners to try out
Some simple designs for beginners include:
- Single-color magnets
- Geometric shapes (such as circles or squares)
- Basic shapes (such as hearts or stars)
Using templates and stencils to create designs
Using templates and stencils can help beginners create clean and crisp designs. Some templates and stencils that can be used include:
- Cookie cutters
- Stencils made from cardboard or plastic
- Printable templates from the internet
Tips for creating clean and crisp designs
Some tips for creating clean and crisp designs when making resin fridge magnets are:
- Plan out your design beforehand: Before you start creating your resin fridge magnets, it’s important to plan out your design ahead of time. This will help you visualize the end result and ensure that your design is cohesive and balanced.
- Use stencils and templates: If you’re a beginner, using stencils and templates can be a helpful tool for creating clean and crisp designs. You can find a wide variety of stencils and templates online or make your own with a cutting machine or by hand.
- Use a toothpick or needle tool: To achieve fine lines and details in your design, use a toothpick or needle tool to carefully shape and manipulate the resin.
- Work in a clean and organized space: A clean and organized workspace will help you focus on your design and prevent any accidental messes or mistakes.
- Practice makes perfect: Don’t be discouraged if your first designs don’t turn out perfectly. With practice, you’ll develop the skills and techniques needed to create clean and crisp designs.
Incorporating these tips into your resin magnet-making process can help you create stunning designs that are sure to impress.
Resin magnet molds and shapes
There are several types of molds available for making resin fridge magnets. Here are some of the most popular options:
- Silicone molds: These molds are flexible and easy to use, making them a popular choice for beginners. They come in a wide variety of shapes and sizes and can be reused multiple times.
- Plastic molds: These molds are also popular among beginners because they are affordable and come in many different shapes and sizes. However, they are not as durable as silicone molds and may need to be replaced more frequently.
- Resin molds: These molds are made specifically for resin casting and are typically made of silicone or plastic. They are durable and can create highly detailed shapes and designs.
In addition to using pre-made molds, you can also create your own custom molds for unique shapes and sizes. This can be done using materials such as clay, foam, or even 3D printing.
By experimenting with different mold options, you can create a wide range of unique and creative resin fridge magnets.
Tips for achieving a professional look with resin magnets
To achieve a polished and professional look with your resin fridge magnets, consider the following tips:
- Proper mixing and measuring of resin and hardener: It’s important to follow the manufacturer’s instructions when mixing your resin and hardener to ensure that the proportions are correct. This will help prevent any issues with curing or hardening.
- Techniques for eliminating bubbles and imperfections: Bubbles and imperfections can be a common issue when making resin fridge magnets. Some techniques for eliminating them include using a torch or heat gun to pop bubbles, using a toothpick to remove imperfections, and using a resin sealer to cover any imperfections.
- Finishing techniques for a polished and professional look: Once your resin fridge magnets are fully cured, you can use finishing techniques such as sanding and polishing to achieve a smooth and shiny surface.
Incorporating these tips into your resin magnet-making process can help you create professional-looking designs that are sure to impress.
Resin magnet techniques for adding color and texture
Adding color and texture to your resin fridge magnets can be a fun and creative process. There are a variety of techniques you can use to add interest and personality to your designs. Here are some popular options:
- Using dyes and pigments: One of the easiest ways to add color to your resin magnets is by using dyes or pigments. You can find a wide range of colors available in both liquid and powder form. When using dyes or pigments, be sure to start with a small amount and gradually add more until you reach your desired shade. Remember that the color of your resin may affect the final color of your magnet, so it’s a good idea to do a test batch first.
- Incorporating different textures and materials: Adding different textures and materials can create a more unique and eye-catching design. Some ideas include adding glitter, sequins, beads, or even small objects like shells or buttons. You can embed these items directly into the resin or use them as a top layer.
- Layering techniques: Layering resin can create a multi-dimensional effect that adds depth and interest to your magnets. You can create layers with different colors, textures, or even embed small objects into the layers. To achieve this effect, simply pour a layer of resin, let it cure, and then repeat the process with a different color or texture.
- Using molds with textured surfaces: Another option for adding texture to your magnets is to use molds with textured surfaces. You can find a variety of molds with different textures, such as wood grain, marble, or even animal prints. The texture will transfer onto the surface of your magnet and add an interesting visual element.
Remember to experiment with different colors and textures to create a unique and personalized design. Don’t be afraid to try out new techniques or mix different materials together for a truly one-of-a-kind look.
In addition to adding color and texture, you may also want to consider adding other elements like glitter or metallic flakes to your magnets for added interest. Just be sure to use these sparingly, as too much can overwhelm the design.
Overall, the key to creating stunning resin fridge magnets is to have fun and experiment with different techniques and materials. With a little creativity and some patience, you can create a beautiful and unique souvenir that will be cherished for years to come.
- Tourist Souvenir Design Guide: How to Create Best-Selling Souvenirs for Gift Shops, Tourist Attractions, and Destination Brands - June 24, 2026
- The Complete Custom Fridge Magnet Buying Guide for Souvenir Importers (2026) - June 17, 2026
- Tariff Navigation 2026: Sourcing from China vs. Vietnam for North American Brand Retailers - June 10, 2026